


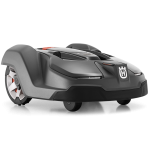
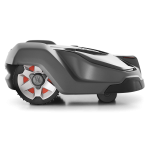


Automower® 450X – Top of the range model in the X-line series from the world leaders in robotic mowing.
Smart enough to negotiate the challenges of large and complex lawns – like multiple narrow passages, obstacles, tough terrain and slopes up to 45%. GPS-assisted navigation and a host of features including Automower® Connect make it the intelligent way to keep your lawn green, healthy and perfectly mowed. Remote Object Detection enables higher mowing speed and area capacity.
The Automower® Connect app keeps you in control: track, interact and stay updated at the touch of a screen, wherever you are in the world.
Installation kit available to purchase separately.
Automower® 450X Features:
Automower® Connect app
Enjoy the convenience of remote control from your smartphone with the Husqvarna Automower® Connect app. Among other things, you can manage and monitor your Husqvarna robotic lawn mower, change settings, and get easy access to information and tips that make lawn maintenance carefree. Cellular, Wi-Fi and Bluetooth connectivity available, dependent on model.
GPS-assisted navigation – PATENTED
An onboard GPS system creates a map of the garden, including where the boundary and guide wires are installed. Husqvarna Automower® will then register which parts of the garden it has covered and adjusts its mowing pattern accordingly. This will ensure optimised lawn coverage and an excellent cutting result.
Remote object detection
Built-in sensors using ultrasonic technology helps the mower to detect objects, lowers the speed and avoid hard collisions.
Smart Home integration
Compatible with Amazon Alexa, Google Home and IFTTT for convenient voice control and status updates. This applies to all Husqvarna Automower® models with cellular or Wi-Fi connectivity, letting you execute voice commands such as start, stop and park, get status updates from your mower by simply asking your voice assistant, use it in IFTTT routines and more. With Automower® Connect you can also integrate your robotic mower with your Gardena Smart System and let mowing and watering work together.
Smart Connections with IFTTT
Use Smart Connections in the Automower® Connect app or create your own flexible routines with IFTTT to integrate Automower® even more into your smart home. Perhaps you want your mower to park when your kids come home from school or when the weather forecast shows heavy rain? Or perfectly synchronise it with the weather? IFTTT (“If This, Then That”) is free and easy to use.
GPS theft protection
Equipped with GPS tracking to keep track of the mower’s current position and minimise the risk of theft. Notifications will be sent to your device via the Automower Connect® app, letting you know where your mower is at all times.
Electric height adjustment – PATENTED
Electric cutting height adjustment makes it convenient to set the desired height via the Husqvarna Automower® Connect app. The setting is also accessible from the mower’s main menu.
Weather timer
Adjusts the working time to the lawn’s growth rate, meaning that Husqvarna Automower® will maximise its mowing time during periods of strong grass growth. In sunny or dry weather, or late in the season, the mower will spend less time mowing, which decreases wear on lawn and mower.
Automatic passage handling – PATENTED
Husqvarna Automower® automatically senses narrow passages and finds its way even through the smallest passages. It will vary its route through the passage to avoid unpleasant tracks.
GeoFence
If the mower is moved outside the predefined area, you will be notified in the app, minimising the theft risk. Simply use the Automower® Connect app to define your mower’s GeoFence area, and you will always know where it is.
Remote start points x5
A uniform cutting result throughout the lawn thanks to the possibility to start the mowing at five different remote locations along the patented guide wire, out from the charging station. The larger grass area, the better and more important with several starting points.
Balance control
Automatically detects and notifies if imbalance in the cutting system occur to ensure trouble-free and silent operation. Imbalance could be caused by missing, double mounted or damaged blades.
Spiral Cutting
Spot and spiral cutting modes can be activated for efficient mowing in areas with high grass. When the spiral cutting functionality is activated, the cutting disc sensors detect when the mower enters an area with higher grass and automatically switch to a systematic spiral pattern. Spot cutting is a mode to mow a limited area of longer grass quickly. This is especially useful for areas like beneath garden furniture once the furniture is removed. Place the mower in the desired area and choose Spot cutting mode. The mower will mow in tight spirals and, when finished, resume in automatic mode.
Profiles
Create several profiles with individual settings, making it easier to share the mower between numerous locations. With personal names on each profile and installation it is easy to switch between different setups via the menu on the mower.
Secondary Area
Set up a secondary area if your lawn has two areas that are not connected with a passage for your mower. To create a secondary area, you need to set up the boundary wire to create an island around that area. Once installed, you manually move the mower between these two areas, and the mower will mow for a selected time or until the battery is empty.
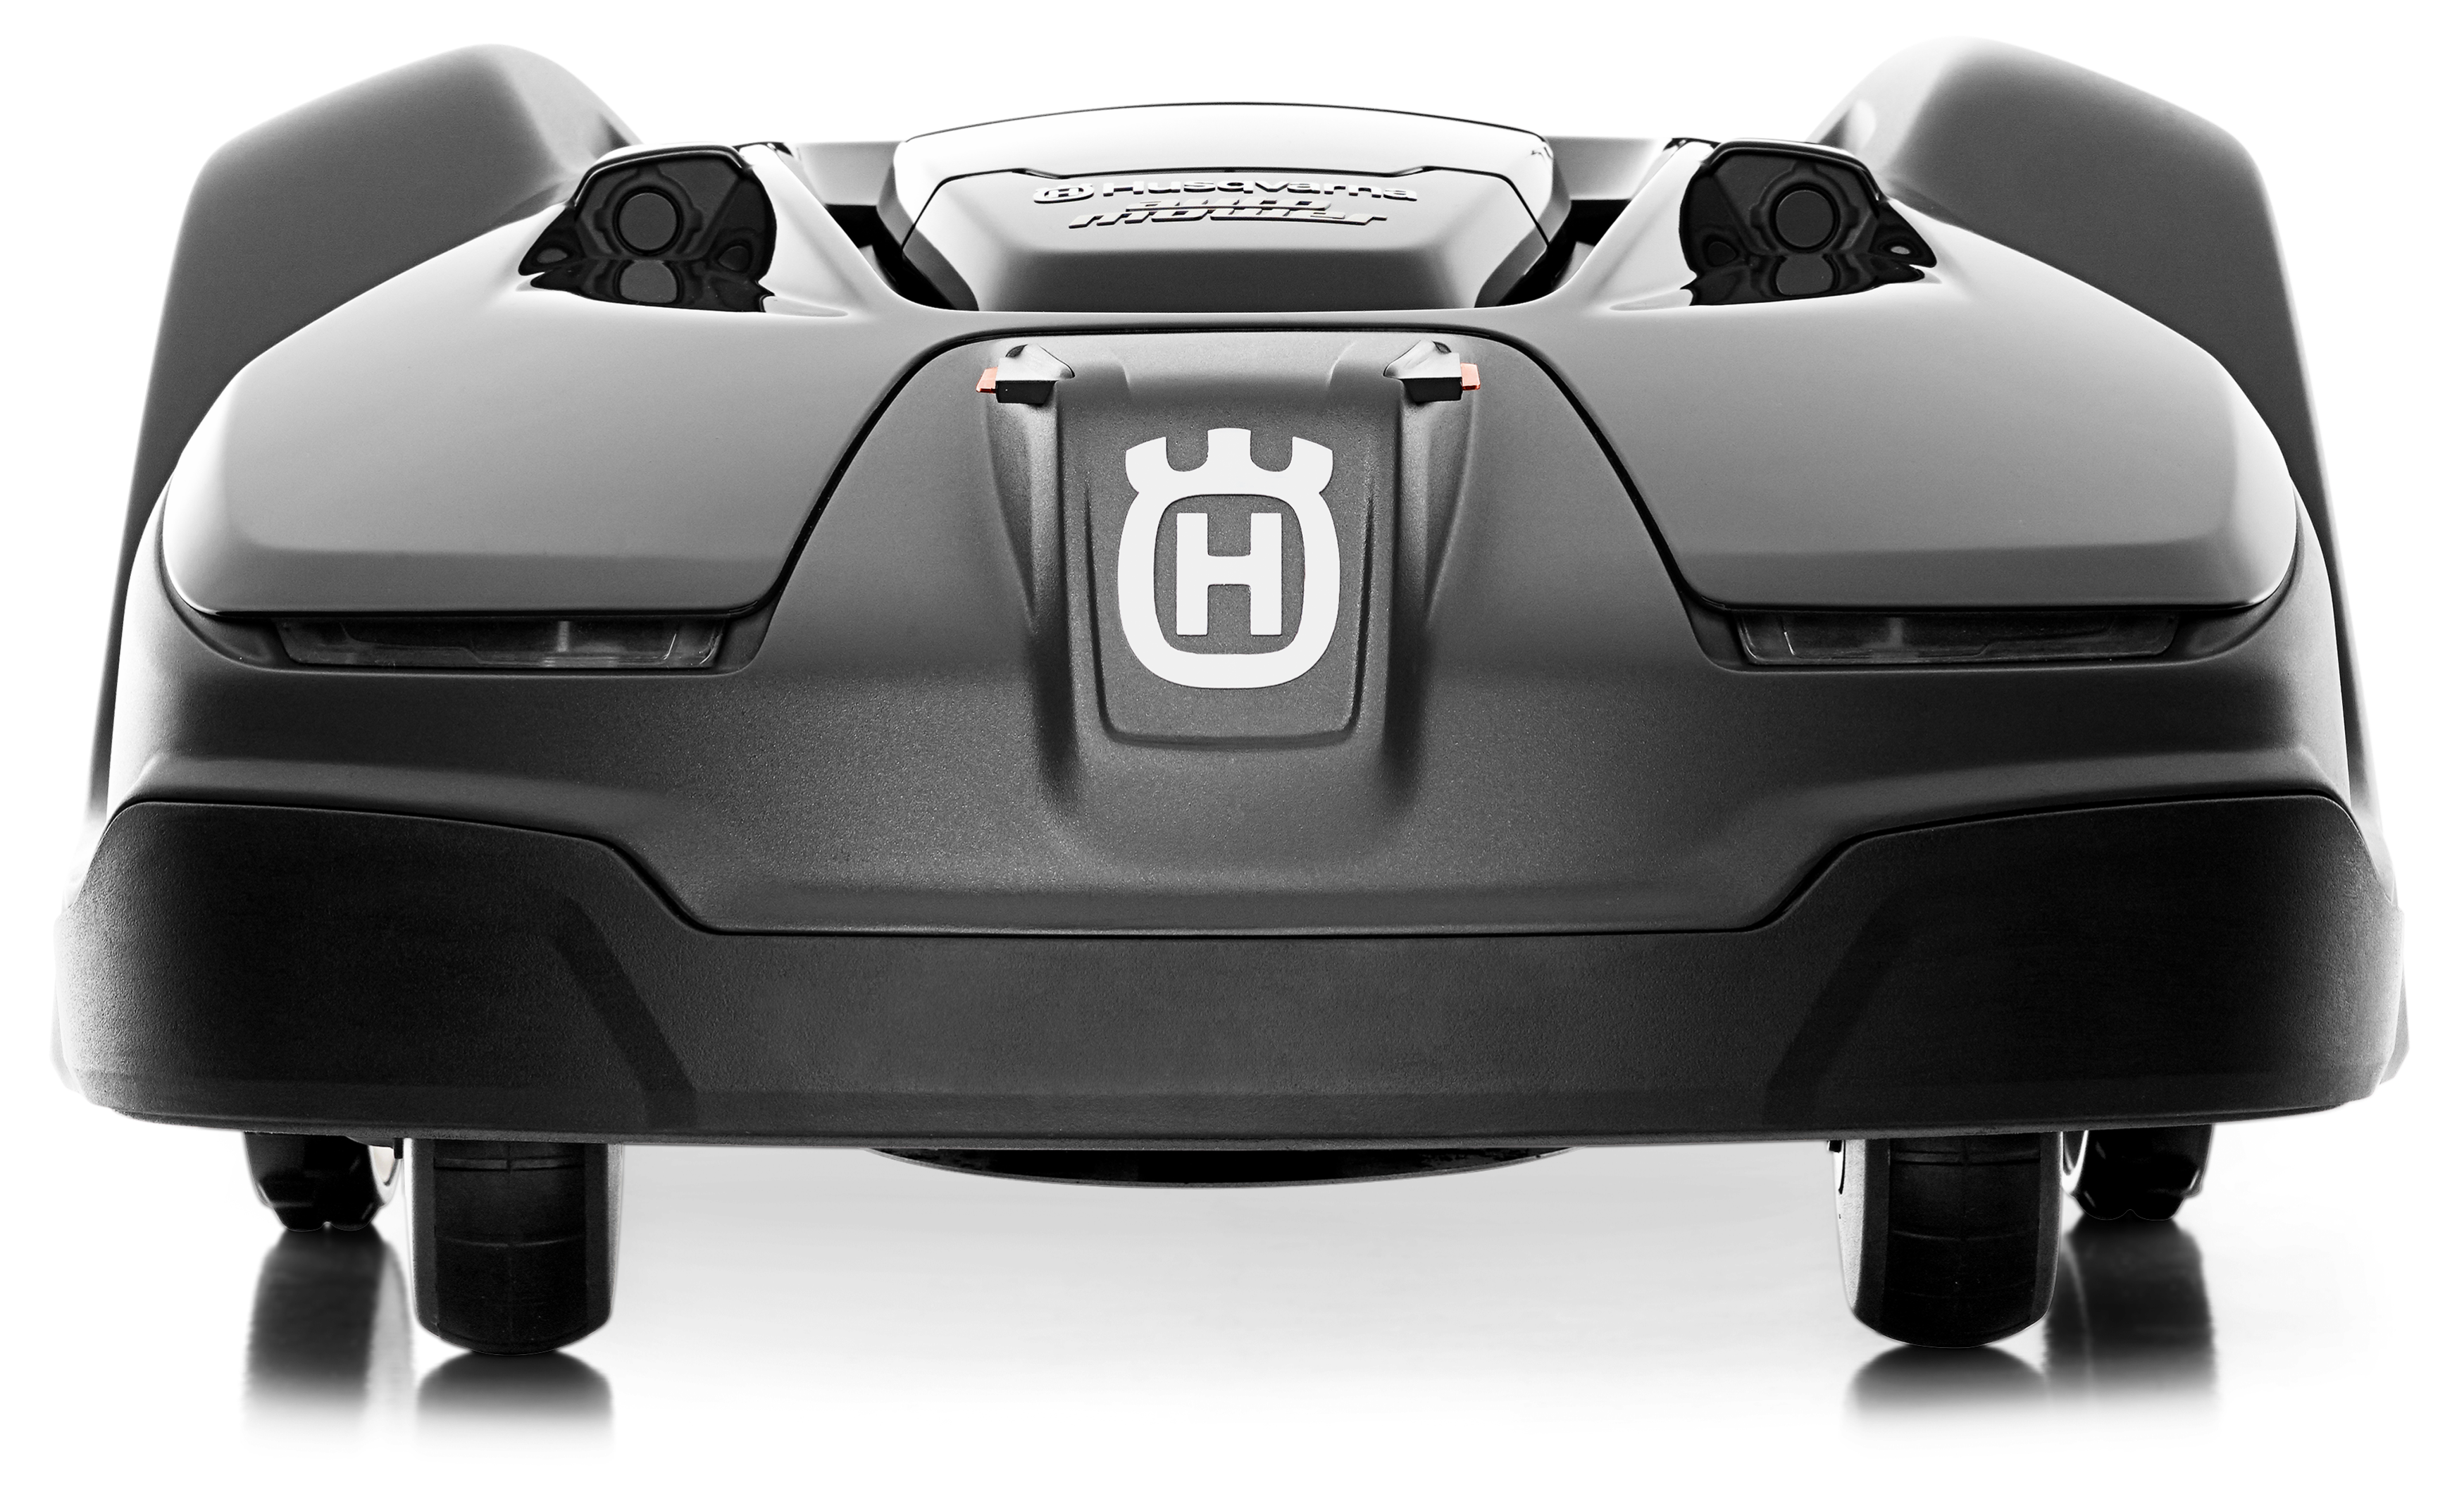
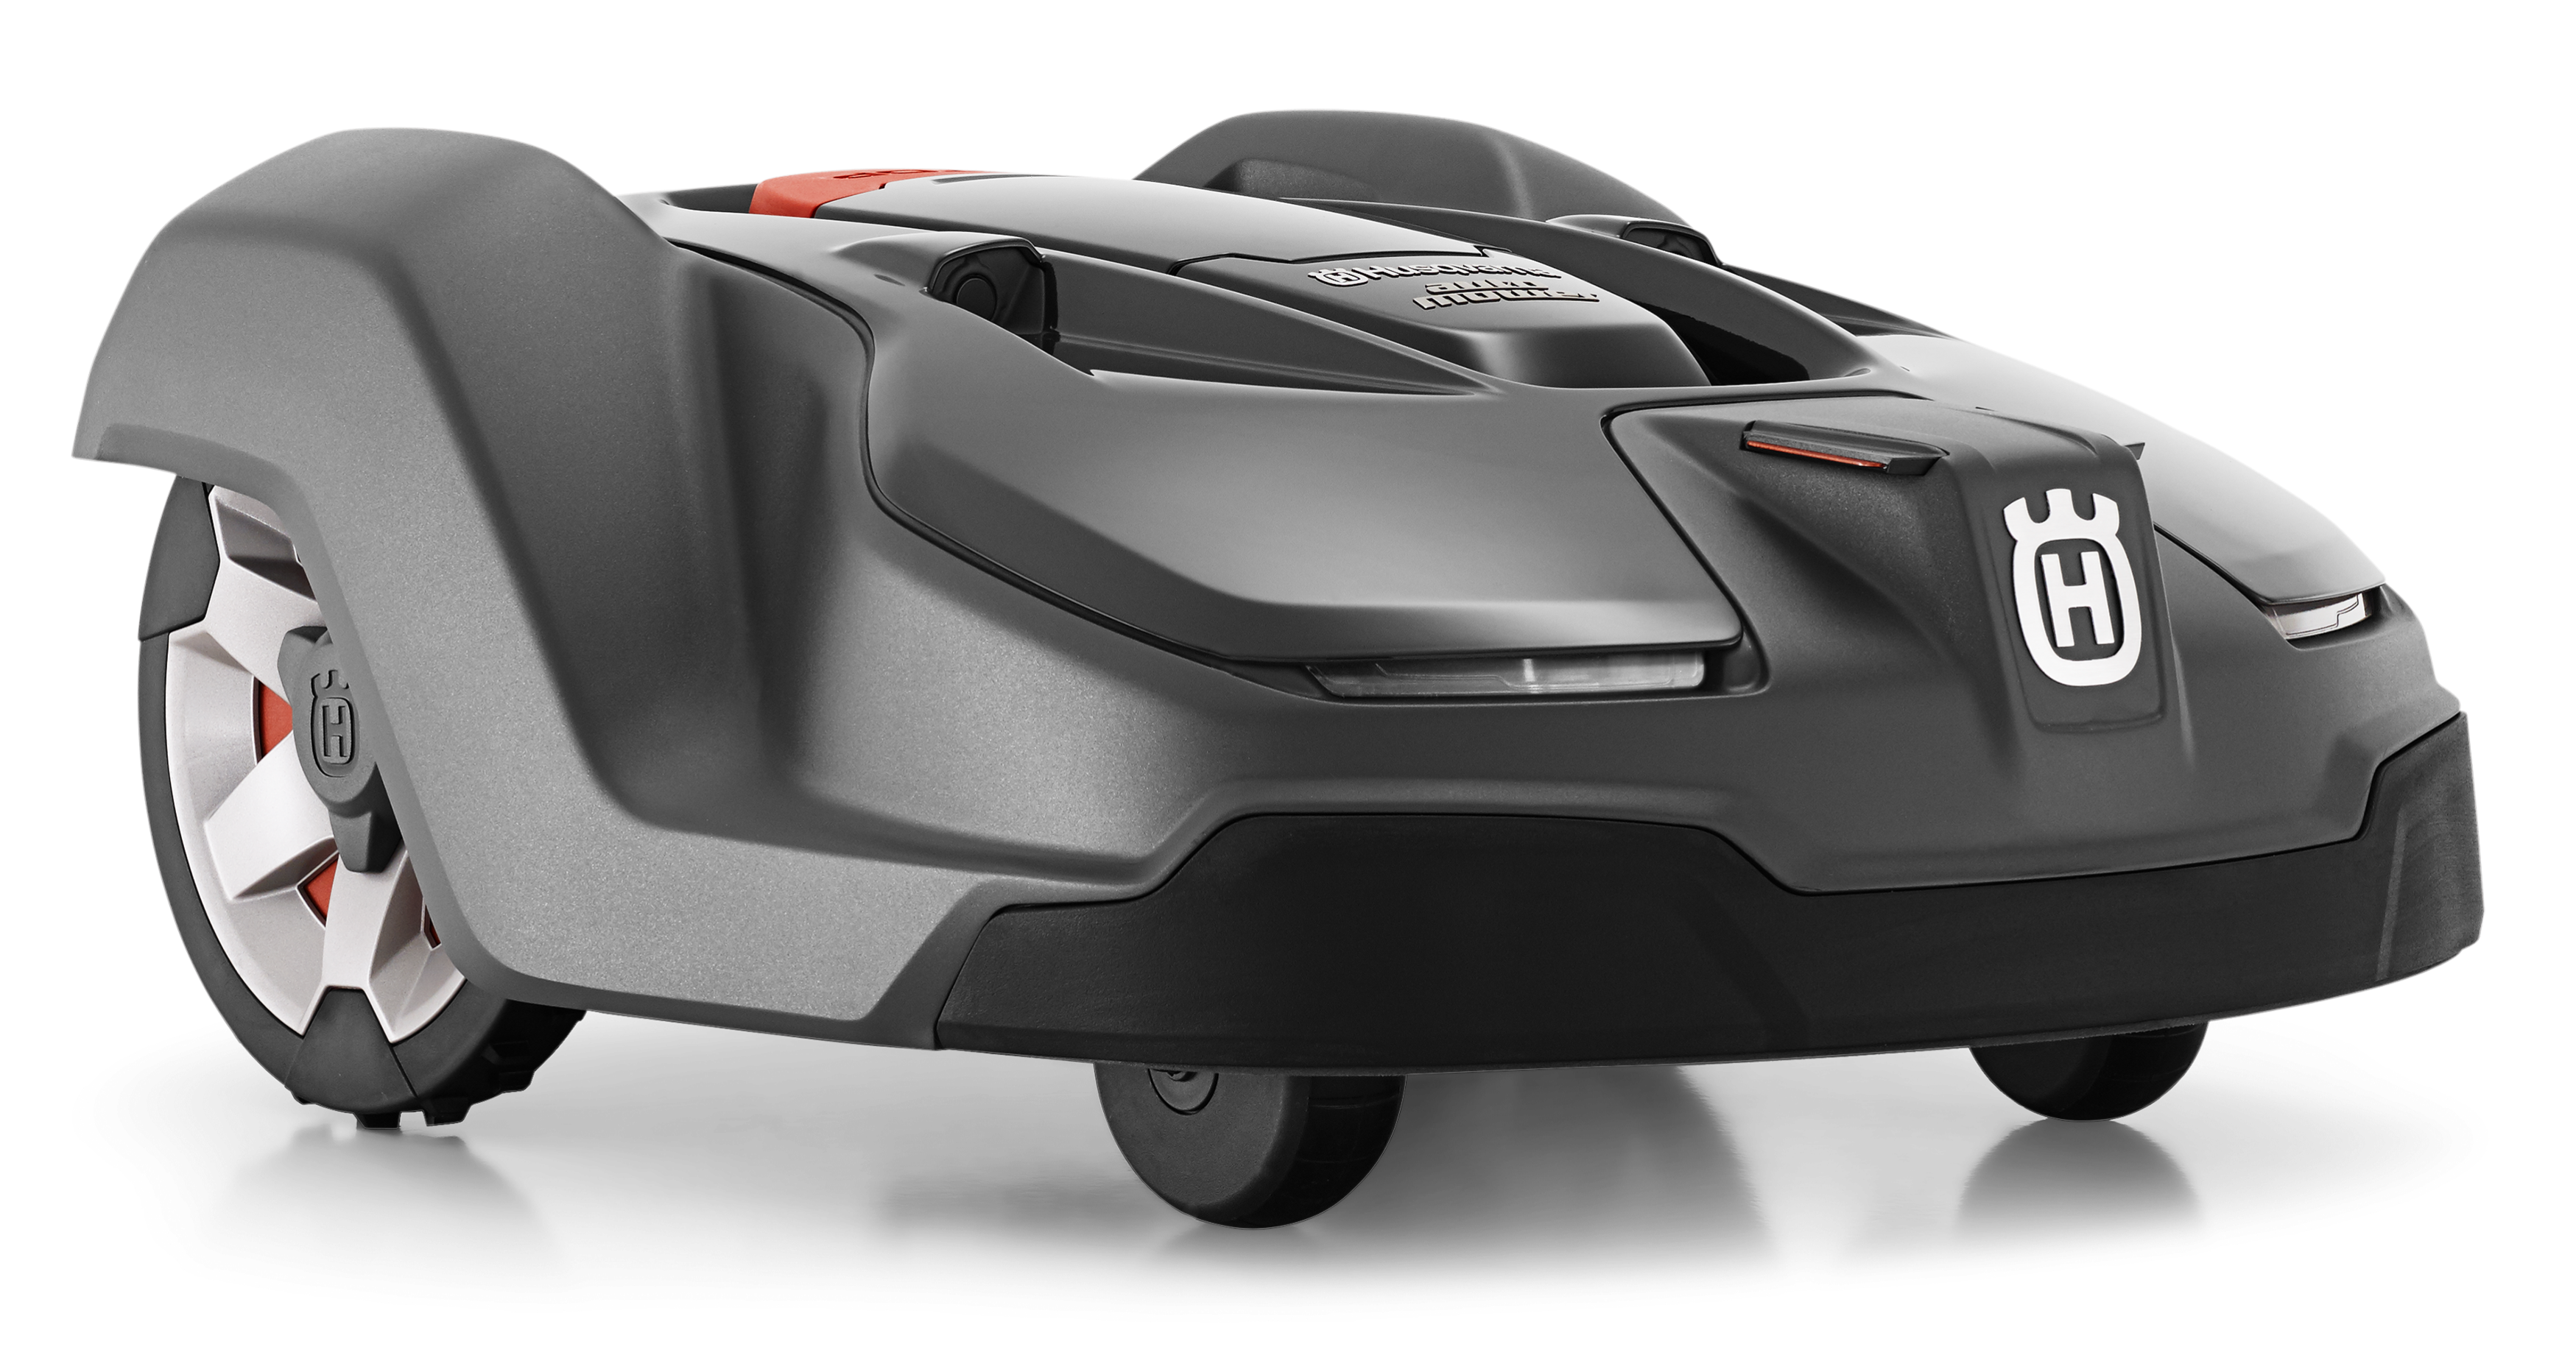
Automower® X-Line
Husqvarna Automower® X-Line is our most fully-featured range, designed for those who want a top-of-the-line robotic lawn mower. Equipped with the X-Line feature package, including Automower® Connect with GPS theft tracking, GPS assisted navigation, LED headlights, front rubber bumper and X-Line body design.
Low Carbon Emissions
By choosing this product, you can feel confident that it produces lower carbon emissions during active use compared to a traditional petrol product. This battery-driven product does not emit any CO₂ during use while still providing the power and quality that you expect from a Husqvarna product. However, it’s important to note that CO₂ emissions are generated during other stages of the product´s lifecycle, such as production, charging and end-of-life disposal.
Automower® 450X Specifications:
Capacity
| Working area capacity (±20) | 5,000 m² |
|---|---|
| Boundary type | Wire |
| Maximum slope performance at boundary | 15 % |
| Maximum slope performance inside installation | 45 % |
| Max active time | 24 h |
| Search system | Pentasearch |
| Follow guide | 3 |
| Charging system | Automatic |
Overall Dimensions
| Weight (complete product w/o side packed articles) | 13.9 kg |
|---|---|
| Product size length | 72 cm |
| Product size width | 56 cm |
| Product size height | 31 cm |
Product Data
| Colour | Grey |
|---|---|
| Sound level perceived | 59 dB(A) |
| Protection index (IP Code) | IPX4 |
| Battery type | Lithium Ion |
| Battery capacity | 10 Ah |
| Charging current | 7 A |
| Typical mow time on one charge | 270 min |
| Typical charging time | 60 min |
| Mean energy consumption per month at maximum use | 23 kWh |
Cutting System
| Cutting system | 3 pivoting razor blades |
|---|---|
| Cutting height max | 60 mm |
| Cutting height min | 20 mm |
| Cutting width | 24 cm |
| Cutting height adjustment | Electric |
| Skid plate | Yes |
| Dual cutting direction | Yes |
Control
| User Interface | Keypad and display/App |
|---|---|
| Display | MonoChrome Graphical Display 2,8” |
| Connectivity | Bluetooth®, Cellular |
| App controlled | Automower® Connect |
| Smart Home integration | No |
| Firmware Update | Dealer Service |
Safety
| GPS Theft tracking | Yes |
|---|---|
| GeoFence | Yes |
| PIN code | Yes |
| Alarm | Yes |
| Lift sensor | Yes |
| Tilt sensor | Yes |
| Object detection | Ultrasonic sensor |

Reviews
There are no reviews yet.